How to shoot your cooking videos with your phone ?

How to shoot your cooking videos with your phone ?
The cooking videos are becoming viral on social media such as Instagram, Youtube, Facebook… with recipes that are seen more than a million times. There are videos of all kinds : short videos that show only a few steps of the recipe or long videos that will explain all the recipe. If you like to cook, you have for sure seen one of them. But now you want to share your best recipes with the rest of the world by doing the best food videos and you do not know where to start.
Which equipment will you need to shoot your cooking videos ?
You will need a little bit of equipment :
- A camera or a smartphone : Obviously you are not a pro and you can not have a professional camera but this is not important. You can start by filming with just your iPhone or another smartphone before buying an expensive camera. The most modern phones have a great shooting quality.
- Lights : You can change your amateur video into a pro one with the lighting. If you have a good white light, your cooking video will level up. To make your final dish look even more appealing, film it in natural light near a window.
- A mic : the sound is another important point. It may seem anecdotal but a better sound quality can make the difference. Choose a good mic and easy-to-use like a lapel microphone for example.
- A software to edit your video : the last part is the editing one. You will have to use a software such as Premiere Pro to edit your footage. If you are looking for free software you can use Capcut or Inshot, they are really good to make your videos more dynamic, especially if you want to edit on your phone.
Now you have all you need to record your video. It’s time to practice.
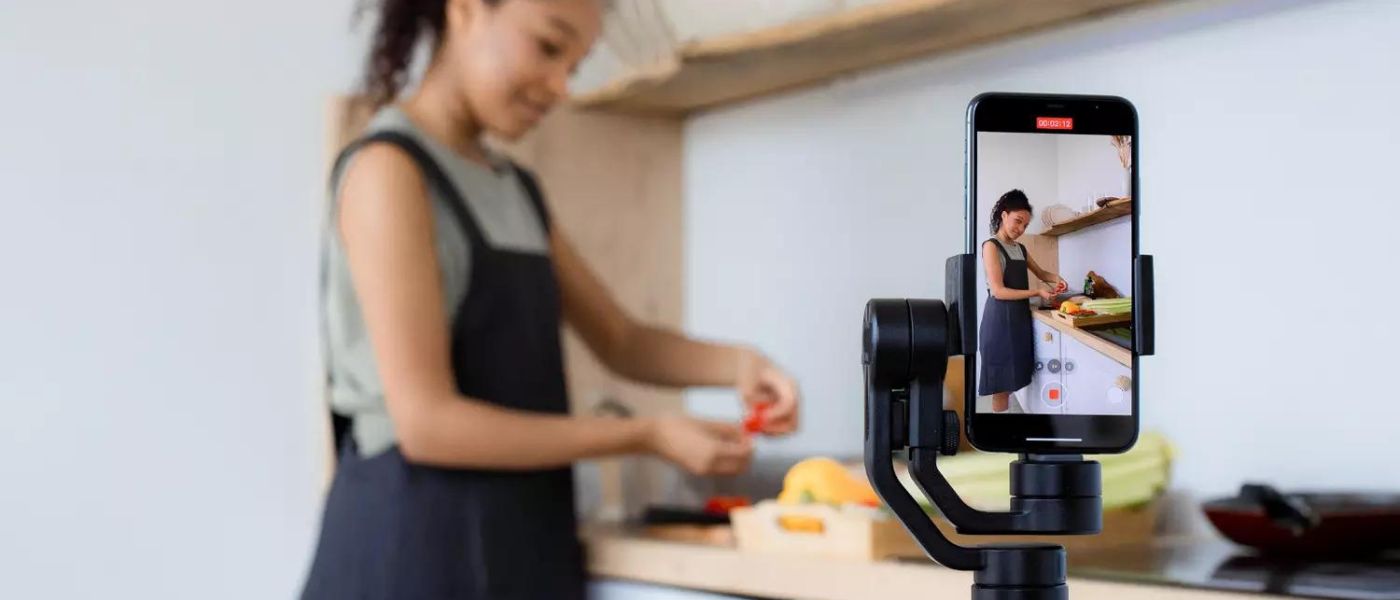
There are several ways to shoot: place your smartphone on a tripod and film yourself, film your hands with an overhead view or ask a friend to film you. You can also make a mix of all the shots and vary the angles. You have to choose if you want to speak or not.
It is easier to shoot a video without sound, but the editing part will be longer because you will have to explain what food you are using and add a caption. Or you can choose to explain your recipe directly. The audio is really crucial if so. Think to speak not too loud but not too low, and avoid background noises. You can also opt for voice-overs. It is really practical because you can adapt your script with what you have already filmed. For the content, your viewers can not smell or feel the consistency of what you are cooking, so explain to them the smell, the taste… Obviously you have to tell the audience what you are doing, which ingredient and how much of it you are using. Be complete.
For the editing, cut the excess parts, add a caption maybe effects to boost your video. The production of the final video can be long but do not abandon it. Try to have a time between 1 and 5 minutes.
The last part is to find your video thumbnail. Take an appetizing picture of your food. The picture must reflect the content of your video. A great picture is a picture that will make people want to click on your video. And when you are finally ready, post it ! The codes for a successful video : A short video : 1m30 is the ideal time A Topshot view : it allows the viewer to be in the action and to see better Readable texts to explain all the steps : the viewers does not have to listen, it can read and do breaks easily A catchy music : to attract the attention A tasty ending picture which can also be the thumbnail
Equipment needed to watch cooking videos with a Smartphone
You would like to follow a video while cooking ?
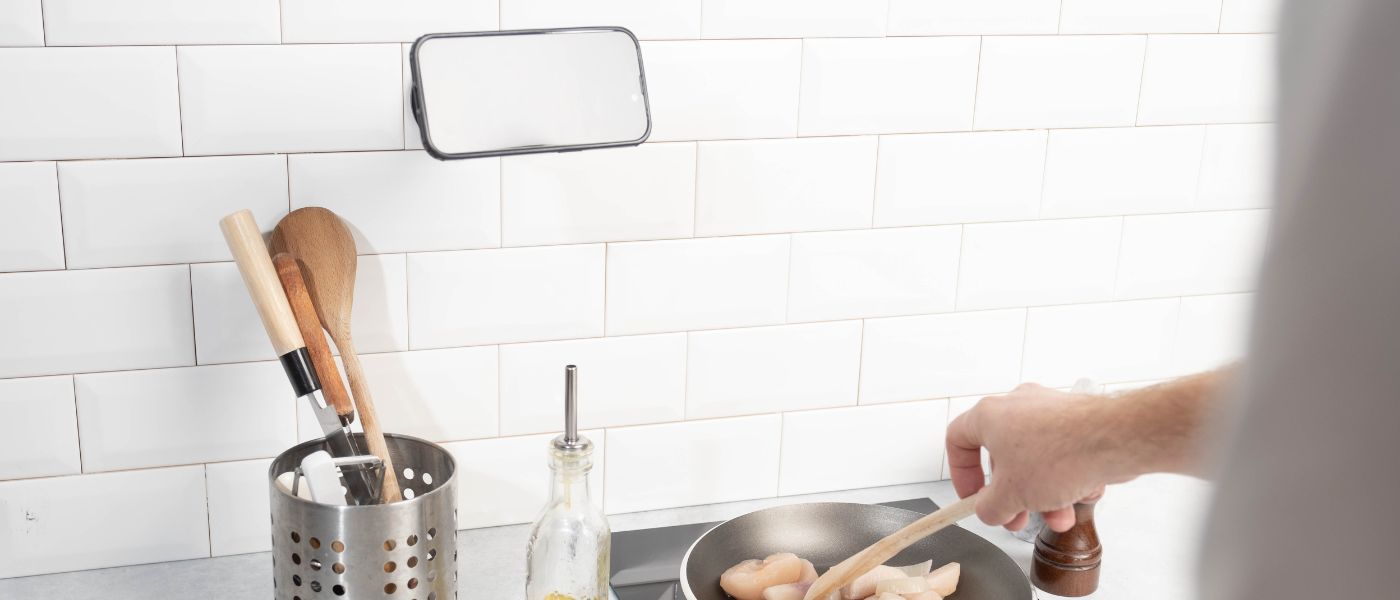
The first problem is where to put your mobile phone. You can not put it everywhere. It has to be safe from splashes, flour or every food that can damage it. But you have to see your phone and be able to pause the video. The best solution is a kitchen phone mount to keep your phone safe and available. You have two options at Tigra Sport to fix your phone during your cooking session.
The first one is the multi-mount. It is a mount with a suction cup. You can fix it on your wall, on your table or on your work plan. It is really practical because you can change the angle and the position of your phone to follow your video everywhere in your work plan. You can also change the place of your phone regularly. It allows landscape and portrait mode. The multi-mount can be used to cook, to follow your GPS in your car, to watch make-up tutorials in your bathroom…
The second one is the U-Wall mount, you can stick it on your wall and use it every time you cook. It allows you to have your phone at eye level. You can place your phone in landscape and portrait mode.
Both solutions are available in Fitclic or in Fitclic Neo. The first one is a mechanical fixation. It is a “twist and lock” fixation. Your phone is fixed within a quarter turn. The second one is a magnetic and mechanical fixation, just put your phone on the mount and the little magnets are doing the rest. These solutions allow you to easily move your phone between your different mounts (car mount, motorcycle mount, bike mount, running mount…)
The mounts are available alone or in a kit. The kits are composed of a mount and a case of your choice (iPhone, Samsung, Huawei, OnePlus, Google Pixel). The cases from Tigra Sport are made from polycarbonate and offer a good level of protection against everyday shocks. You can also use your mount with a universal solution such as the universal pouch, the universal U-Fitgrip or the U-Tag. The universal pouch is waterproof and protects your phone from splashes and shocks. It is very useful, especially if you’re a very messy cook. The universal U-Fitgrip is a cradle that can fit most phones. And the U-Tag can be placed behind your own case or directly behind your phone.


